The pentatonic flute is named so after the five-note pentatonic scale. Rudolf Steiner said this scale harkens back to our ancient ancestors' days and the music they felt from the spirit world. As human consciousness evolved, so did our understanding and connection to music. In ancient days, the familiar seven-note diatonic scale "do, re, mi, fa, sol, la, ti, do" was not developed yet. The most familiar diatonic scale is C Major- C D E F G A B C. The pentatonic scale does not use the C or the F notes, just as music from our ancient past was played with just these five notes; D E G A B. These are the notes that your sweet, little, dreamy child feels most connected to. Your young child feels the pentatonic scale's notes in their soul and delights in these tunes. They are the perfect songs to sing and play when your child is between birth and around eight years old. These are the notes that connect us to our ancient ancestors who walked and sang closer to the spirit world than we do today. The flute is a beautiful instrument to begin with, as your child will become aware of their breath and learn how to regulate their breathing to produce a beautiful tone. Simultaneously, the flute's fingering requires the development of finger dexterity and fine motor movement, which can be challenging. So your child is also developing the ability to persevere through difficult circumstances. The ability to lift one finger or several fingers simultaneously is a marvellous brain/body activity. Finally, and most importantly, creating beautiful music is inspiring and enlivening. When your child knows a song and can sing it by heart, and then they are learning to play that song on the flute, well, that is a most exciting day to behold!! So, the pentatonic flute is the ideal beginner instrument for your Grade One child. It speaks to the whole child: body, soul and spirit! And music is a great creative force that brings people together. Daily Wonder highly recommends purchasing the Waldorf Teachers' Companion to the Pentatonic Flute, by John Miles. Daily Wonder's YouTube playlist has everything you need to teach your child how to play the Pentatonic Flute. Jennifer has recorded Lessons for introducing all seven notes:
0 Comments
Each Daily Wonder unit comes complete with three weeks of guided daily curriculum and a 4th week called a Flex Week. Parents can rest assured that the curriculum is covered as planned for each unit during the first three weeks. If parents choose to continue the daily routine with Flex Week, they will continue to cover the curriculum and expand on that with design thinking as well. 
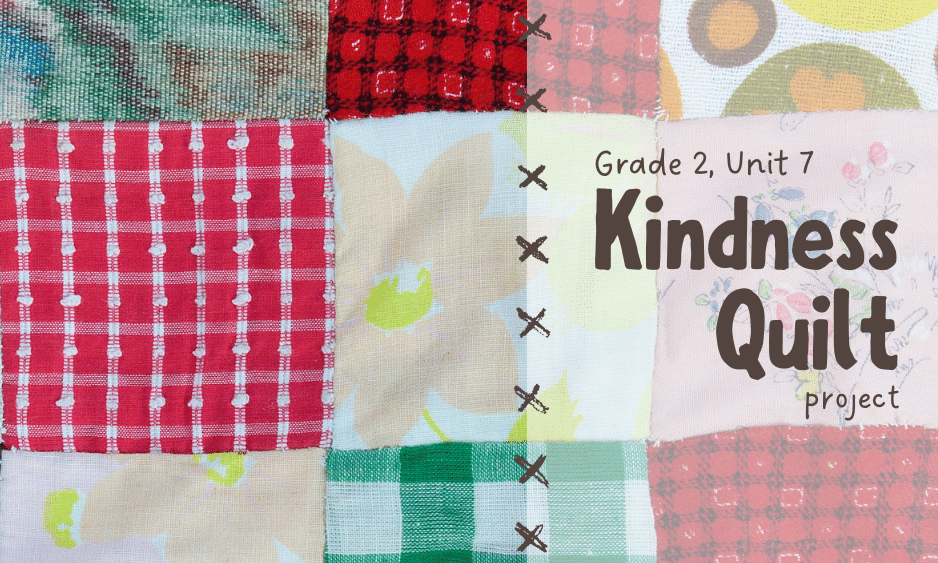
The Flex Week project for the Grade 2, Month 7, The Wonder of Reading unit is the completion of a Kindness Quilt. The theme of kindness runs through the stories told during this unit. Stories of kindness are a perfect backdrop for the level of reflection appropriate for the 7 or 8-year-old. It is more developmentally appropriate for a child this age to feel how they feel rather than to think about how they feel. This means it is easier for them to read about kindness and feel how that care feels than for them to bring this into their thinking for analysis. What is a Kindness Quilt?The Kindness Quilt is a celebration of kindness. It is a nine-panel mini quilt about 12” square. You could encourage your child to think of a different person in their life that they would like to share kindness with as they work on each square. When completed, you can use it as a table centrepiece, a doll blanket, a resting place for special things, or a seat cover. Materials are listed below. Skills required are the ability to thread a needle, sew a decent running stitch, tie off, and cut with scissors. In addition, doing a blanket stitch would offer a good option for finishing off. Materials Needed
How ToHere is a YouTube video on hand sewing the squares together. It will show you how to pin the edges together which can be tricky. Here is another video on how to make a quilt that will show you the entire process but using a sewing machine. The second video will show you how to fold over the backing edge to finish the quilt. We simplified by skipping the binding edge but the hemming and folding still applies. Project StepsDay 1: Gather materials, decide on the layout of quilt squares, pin edges together by laying them face to face, then pinning the edge with one or two pins. Pin in rows of three squares to end up with three pinned and separate rows of squares. Day 2: Thread your needle with embroidery thread. Knot the thread at the beginning and end of the sewn section and sew all six lines of joined edges. Day 3: Finish any sewing of edges. Pin two rows together by laying them face to face and pinning edges with 3-5 pins. Begin sewing this long edge. Day 4: Add the final row to the sewn double row. Lay face to face with row, pin, sew. You should have the quilt side complete; hurray! Lay this on the backing fabric. Create hem on backing fabric by folding over about ½ cm/quarter inch. Fold the edge of backing fabric over the edge of the quilt, being sure to maintain the hem fold. Pin as needed. Day 5: Sew backing fabric to the four sides of your quilt side. Use blanket stitch if desired. Place a French Knot in the centre of each square on the quilt side to finish off. We hope you enjoy this Flex Week project and if you feel like sharing pictures of your kindness quilt, we'd love to see! Kind Hearts (A poem to match the unit theme of kindness) By Anonymous To do to others as I should That they would do to me. To make me good, and kind, and strong As children ought to be. Kind hearts they are the garden. Kind thoughts they are the roots. Kind words they are the blossom, Kind deeds they are the fruit. |
BlogExplore schedules, rhythms & routines, songs, music, festivals, free play, meals, projects & more to support your homeschooling program.AuthorThe Wonder Squad Categories
All
Archives
February 2023
|
You might be wondering... |
Visit us on Teachers Pay Teachers© COPYRIGHT 2020. ALL RIGHTS RESERVED
Serving your worldwide educational needs from Comox Valley, BC, Canada. |