|
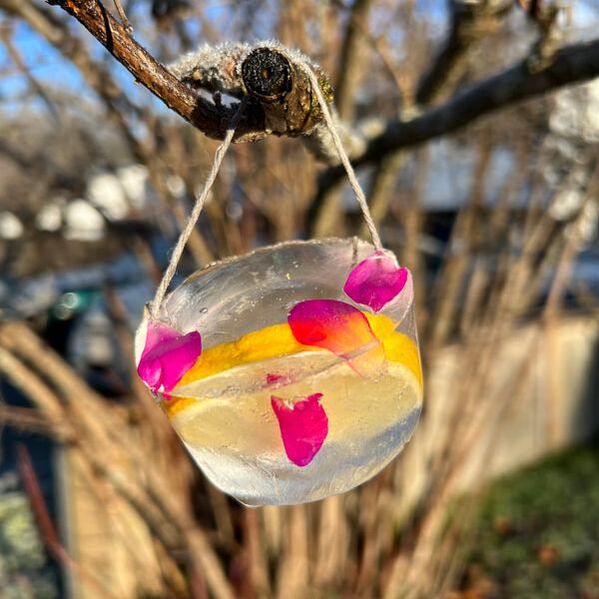
For the most part, the temperature where we live stays above freezing. But occasionally, it dips below. And when this happens, making ice crafts helps us gain an appreciation for cold weather. Ice Ornaments
There's no right or wrong way to make these ice ornaments. We used a muffin tray, but you could use any size container. We've used large bowls, ice cream buckets and tin pie plates. Place flower petals, sliced fruits, cranberries, ferns, sprigs of pine - really anything you like, into your chosen container. Fill with water and lay some twine or yarn in to become the handle. Place them outside overnight, and in the morning, pop your ornaments out and hang them around your yard. Ice Candle
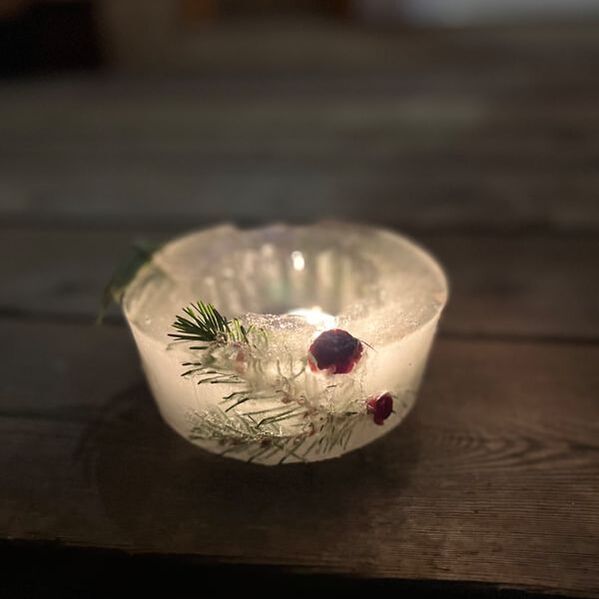
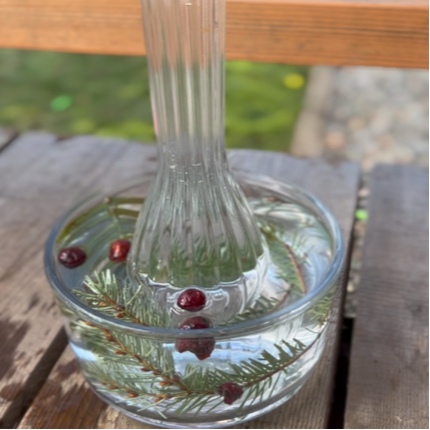
Just like the ornaments, you can make these in whatever container you have. We used an oven-safe thick glass bowl and a glass vase. We placed the glass vase into the centre of the bowl (to make the space for the candle) and filled it with water to weigh it down. Then we placed sprigs of pine, a fern and cranberries in the bowl and filled the bowl with water. We placed it outside overnight. We had to run some warm water over everything the following day, and then the candle holder popped right out. Ice Globes
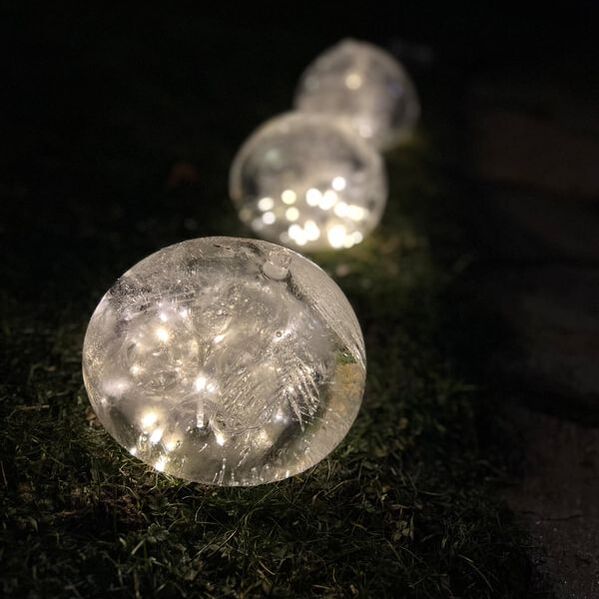
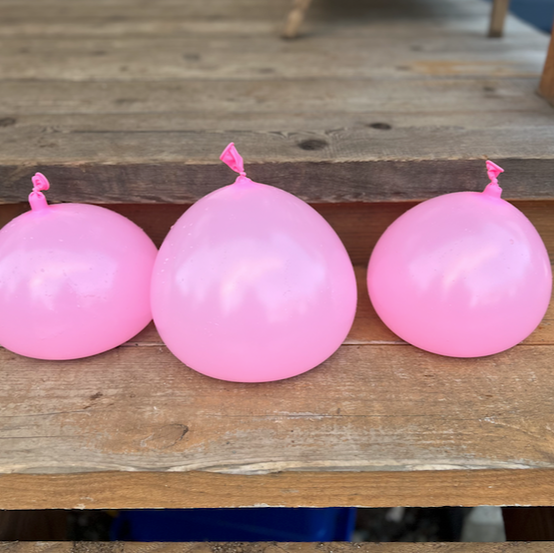
For these, we filled balloons up with water and let them freeze overnight outside. In the morning, we cut the balloon off, drilled a hole in the bottom and added battery-operated lights. Honestly, these are the most beautiful things to light a path with, and they bring so much light and joy to the frozen world outside. Flowers and blossoms are right around the corner, but ice ornaments, candle holders and globes are a lovely way to spruce up the bare trees and bring colour back to your yard until Spring arrives!
0 Comments
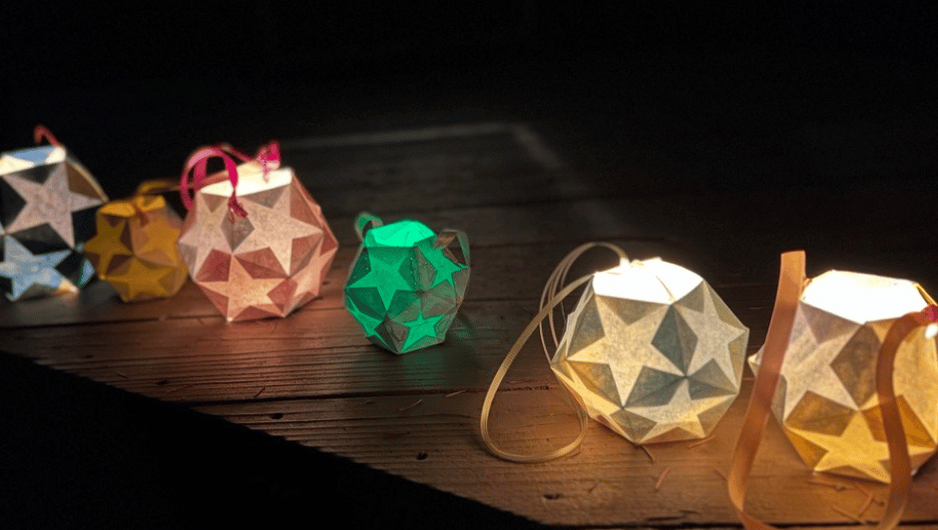 Create Your Own Star LanternsThese geometric star lanterns are perfect for lantern walks and celebrating the Festival of Compassion. They are a little tricky, so may be better suited for older children, grade 4 and up. Materials
Step 1
Start by painting an 11″x14″ wet-on-wet watercolour painting with a basic colour wash or use a previously painted watercolour painting. 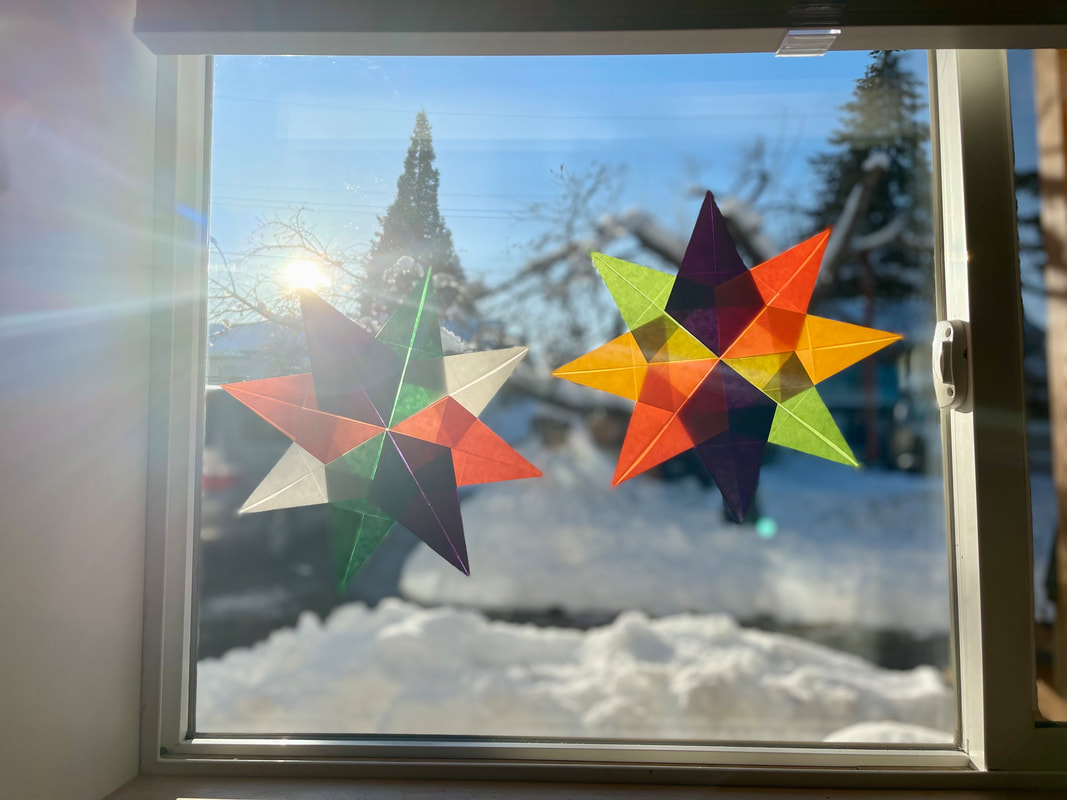 These beautiful eight-pointed stars are easy to make and it's fun to decorate your windows with them during the winter months. What You Need:
How to Make: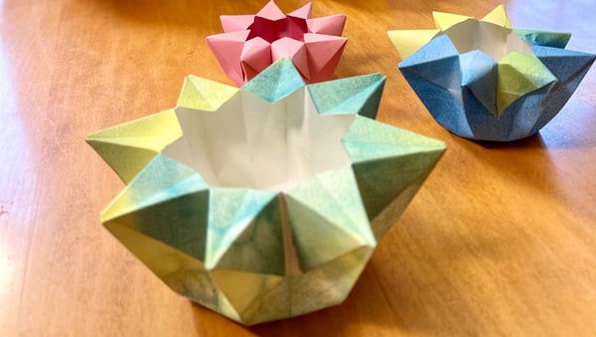 Learn how to make beautiful paper star lanterns. These are perfect for your winter nature tables, for a lantern walk, or to decorate your advent spirals. They are also an excellent way to use up watercolour paintings. You can even coat the paper in olive oil and let it dry before folding it into a lantern. The oiled paper creates a beautiful translucent effect when lit up. Remember to never leave your candle unattended. Things You'll Need
How to Make Your Lantern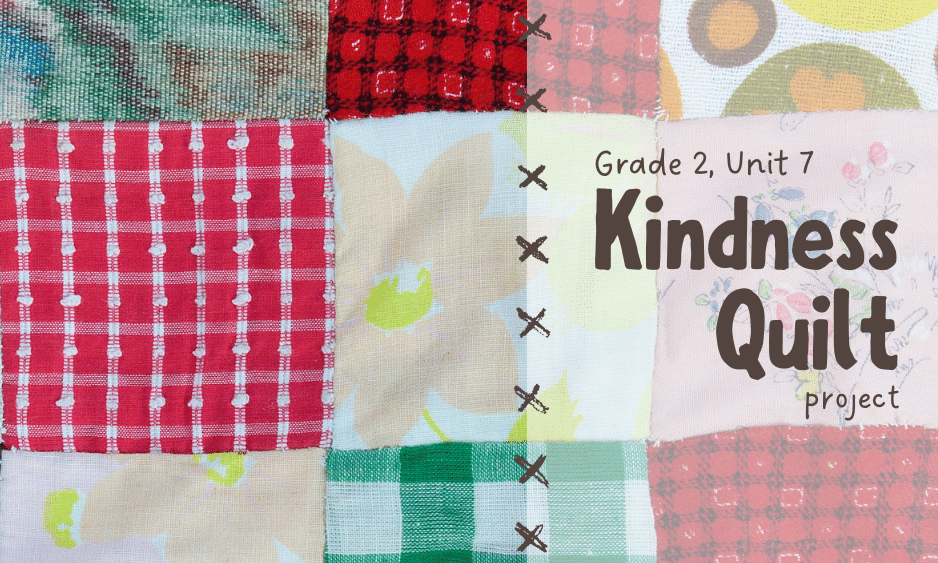 Each Daily Wonder unit comes complete with three weeks of guided daily curriculum and a 4th week called a Flex Week. Parents can rest assured that the curriculum is covered as planned for each unit during the first three weeks. If parents choose to continue the daily routine with Flex Week, they will continue to cover the curriculum and expand on that with design thinking as well.
The Flex Week project for the Grade 2, Month 7, The Wonder of Reading unit is the completion of a Kindness Quilt. The theme of kindness runs through the stories told during this unit. Stories of kindness are a perfect backdrop for the level of reflection appropriate for the 7 or 8-year-old. It is more developmentally appropriate for a child this age to feel how they feel rather than to think about how they feel. This means it is easier for them to read about kindness and feel how that care feels than for them to bring this into their thinking for analysis. |
BlogExplore schedules, rhythms & routines, songs, music, festivals, free play, meals, projects & more to support your homeschooling program.Categories
All
Archives
July 2024
|

 RSS Feed